I debated and debated what to share this month. Then I came up with an idea that’s perfect for the holiday gift giving season! An envelope pillow is such a quick and easy gift!
 You can do anything with it! You can make your kid one out of one of their favorite shirts that they’ve outgrown… Or did you find some fancy fabric, but if was so fancy you really know you should only buy a half yard… Perfect for a pillow! Or you can do a quick little quilting job and have a baseball inspired pillow!

So what you’ll need is easy… A Pillow! Fabric, thread, cutting implements, and some batting if you want to do a little quilting.
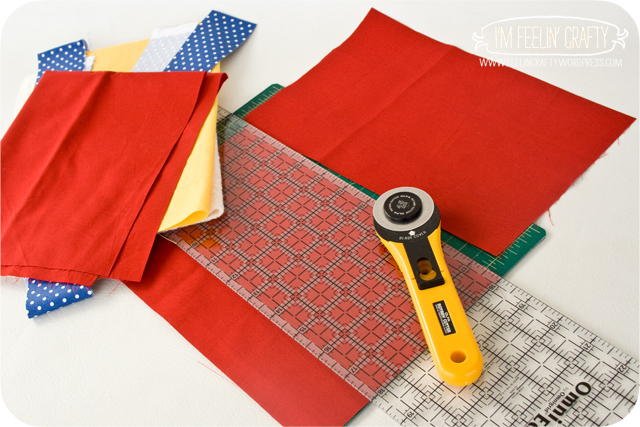
First you cut! Cut out the front roughly a half inch larger than you pillow. For the back you’ll cut two pieces. I cut them to overlap by about three inches. For instance, if you pillow is 14 inches wide, I’ll cut two pieces 10 inches wide. If you’re going to be quilting, cut a piece of batting and a cover for the batting, both the same size as the front piece.

Hem the edges on the back two pieces.

If you’re going to do quilting on the front, go for it! Then cover the back of the quilting with you extra piece.


Stack them all together! Back of the quilted piece, right side down. Front of the pillow, right side up. Then stack the two back pieces, right sides down.

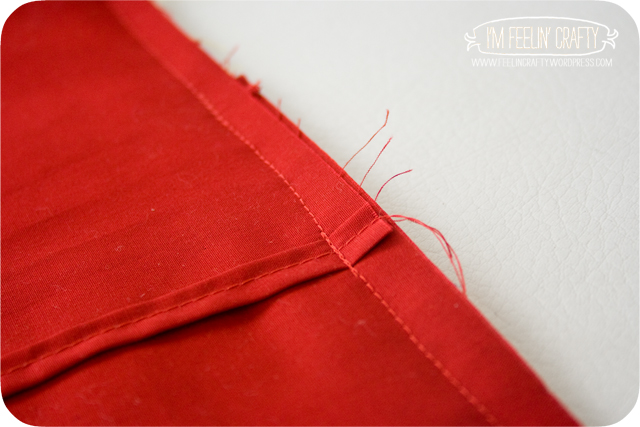
Hem the edges on all four sides. I like to back stitch over the overlapped back pieces. You’re going to be pulling at it here when you stuff the pillow in, so a little extra stitching helps!
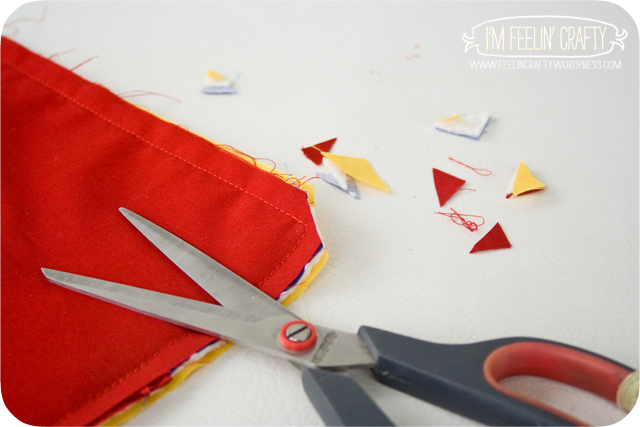
Then trim the corners.

I like to trim the edges with a pinking shear. Or you could use a serger.

Turn it right side out. (yes, my back is not even, like I mentioned above, but it is overlapped like I mentioned.)

Then stuff that pillow in and enjoy!
See? Super simple! Quick and a sweet gift! I made mine for a friend that wanted a St Louis Cardinal pillow…

I’m not much for using fabrics with team logos and such, so I took their colors and logo and made mine.


What do you think? Does it say St Louis Cardinals without literally saying St Louis Cardinals? I hope so! I didn’t do a bird. But I did baseballs (don’t look at the basballs too closely, it’s my first time doing little bitty circles!), the yellow bat and the blue outline…. Crossing my fingers that she likes it!
