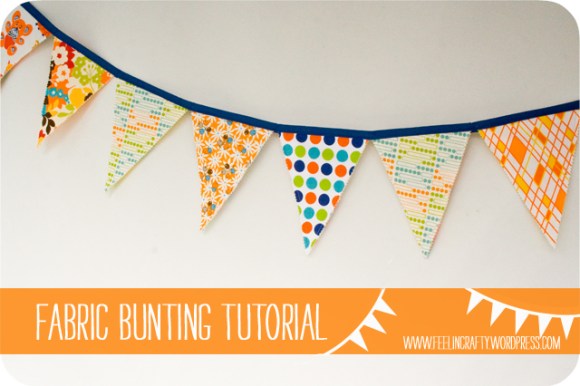
This month I thought I’d share a project that I made earlier this summer! A fabric bunting! Quick and easy! A sweet thing to hang in the house or give as a baby gift (or any sort of gift for that matter)!
 I made a bunting a LONG time ago and I made it too big! But this version is a smaller one with a little something extra. Quilting! Recently a colleague asked me to make one, so I did! And I thought I’d tell ya how I made it so you can make your own!

The materials you need… You’ll need fabrics for the bunting pieces and fabric for the binding, a cutting tool, pinking shears, and batting. And if you’re wanting to add letters you’ll also need something like heat and bond (two sided fusible adhesive) and your letters. The pattern for the triangles is here.

step 1- Cut and cut and cut! Your fabric and your batting into triangles.

step 2- Stack your bunting pieces. Lay the back side right side down, then your batting and then your front side right side up.

step 3- Sew the three pieces together on the two long sides. You don’t need to sew the top side.

step 4- Trim the two sewn sides with pinking shears.

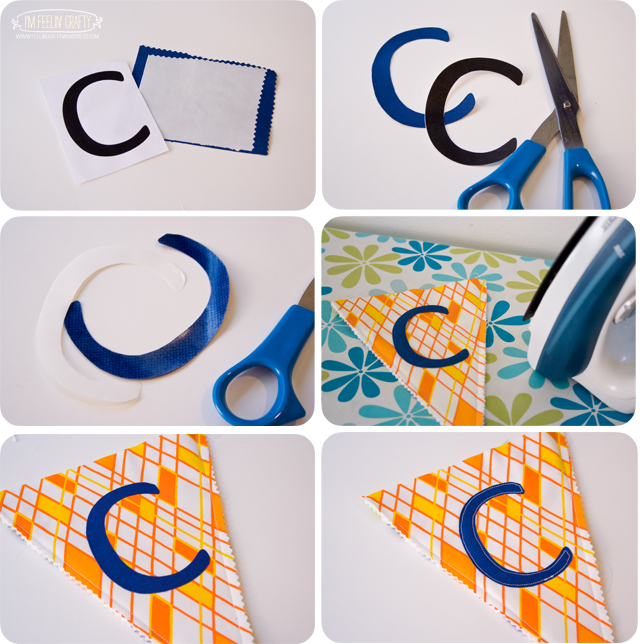
step 5- If you’d like to add letters you can here. Iron on the interfacing to the back of the fabric you want the letters cut out of. Then trim the fabric to the right size of the letter. remove the backing from the interfacing. Then iron on the letter. Depending on the interfacing you use, you can stop here if it’s a no sew interfacing. If it’s a sew on interfacing, topstitch now.

step 6- Now for the binding. You could use premade binding if you’d like. Or you can make your own. I cut two inch strips, sew-ed them together at an angle and then folded it in half and ironed. Then folded the sides in again and iron again. And lastly, sew it to the flags.

And you’re done! See? Simple! What fabrics would you use? What occasion would you make one for? Enjoy!
