
I was so honored and excited when Andrea asked me to become a contributor and part of her new endeavor, Go To Sew. I thought about it for about two whole minutes and got a big smile and said YES! It’s awesome to be here and I can’t wait to show you my newest project!

My son has been eyeballing scarves, but they are either too expensive, too long for a 4-year-old or something that I know that I can make. So I decided, I’ll just make one! And I’ll make it with a couple of easy enhancements. Every scarf needs a pocket to stash treasures that you find out and about. And a little strap so it stays in place… Hence, the Stay Put Scarf.

Supplies:
- fabric: I used fleece and minky fabric.
- cutting materials and tread!

Step 1: Cut the fabric.

You’ll need:
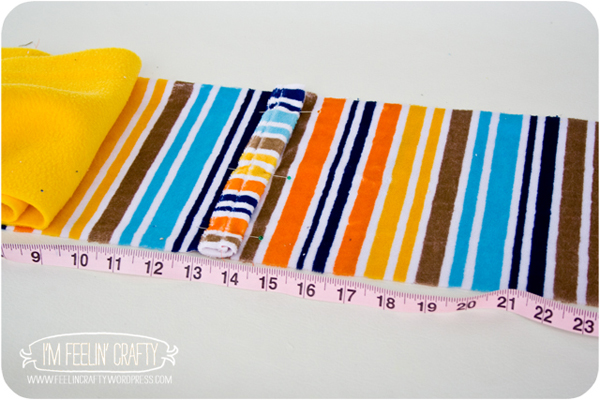
2 strips of 8×38 inch fabric for the front and back of the scarf. I made mine for a small 4-year-old, you might want to make yours longer for a larger kid or an adult.
A 2.5×8 inch strip for the strap.
Two pieces of 7×6 inch fabric for the fringe.
And one piece of 7×8 inch fabric for the pocket.

Step 2: Make the Strap.

Sew the strap together, with right sides together and then pull it through itself.
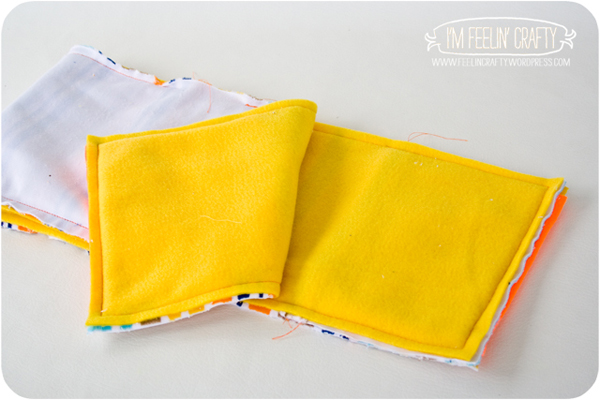
Step 3: The pocket.
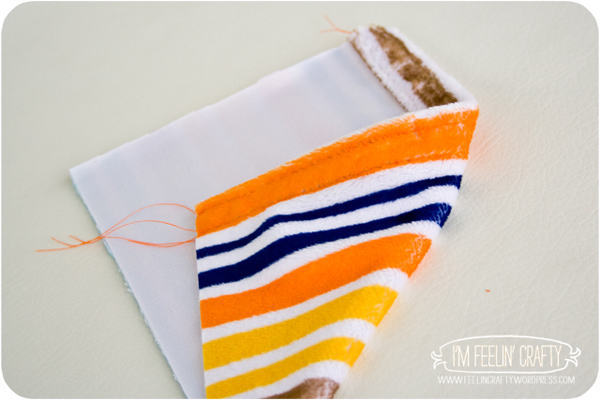
All you need to do here is hem one of the 8 inch long sides.
Step 4: Assemble.

Layout the front side of the scarf, right side up. Center the fringe piece right side down. Add the pocket, right side down. And lastly, add the back side of the scarf, right side down.
Pin in the strap. I pinned mine 6 inches toward the pocket from the center. Does that make sense? Find the center. Then measure 6 inches toward the pocket end. That’s where the strap goes. Again, like I said earlier, this one is for a small 4-year-old. The placement of the strap might change based on the size of the kiddo.
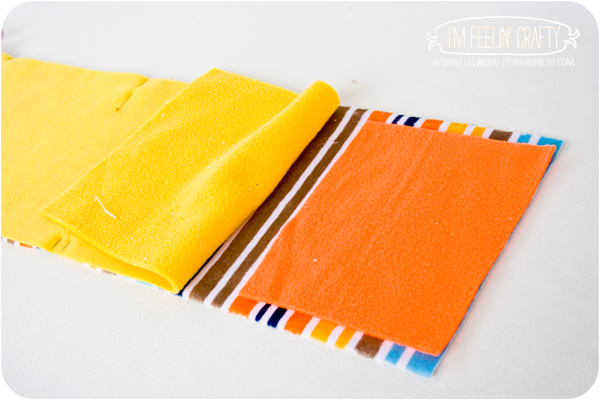
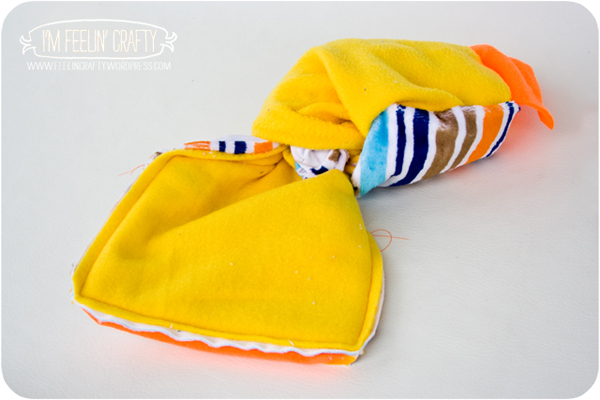
Next layer on the other end fringe. Again, right sides together.

Pin all the layers together for the whole scarf.
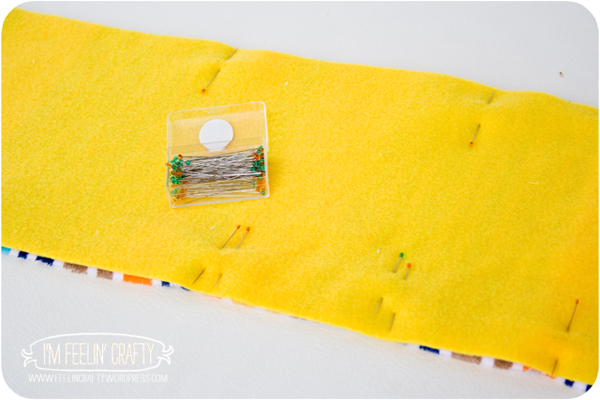
I have this little problem of forgetting to leave holes when I’m sewing things together, so I’ve started adding double pins where I want to leave a hole. Just a little reminder!
Step 5: Sew it all together. (Except between those double pins!)
Step 6: Trim the corners and pull it all out through the hole you left.

Typically I’m a top-stitcher. I love to top stitch. EVERYTHING! But not this one. You can, but for some reason on this one, I didn’t feel like it needed it. But do sew the hole closed!
Step 7: Make the fringe.
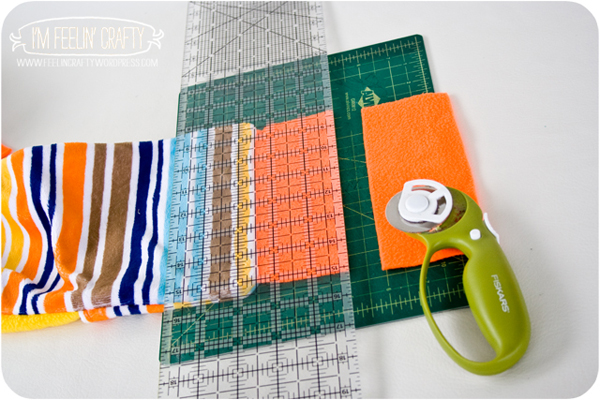
I originally told you to make the fringe 6 inches. Now’s the time you decide how long the fringe is actually going to be. I made mine 2.5 inches!

Then trim the fringe, by cutting into 1/2 strips, but stop the cuts about 1/2 to 1 inch from the end of the scarf.
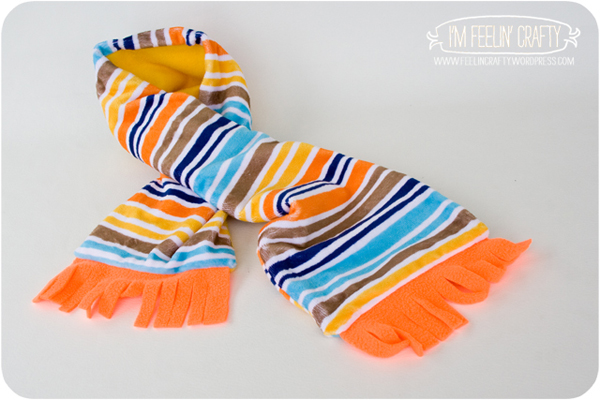
And that’s about it! Nice and simple and completely your own!My son and I made this one together. He had his idea of all the colors he wanted in an outfit I was making for him, but we didn’t have orange, so we picked it up here in the scarf. And like I said, it’s all his. His ideas, the colors he picked out and now it fits him perfectly! Much more fun than buying one already made. I hope you enjoy making one as much as we did!